Top Tips for Trim Under Exterior Door Installation and Maintenance?
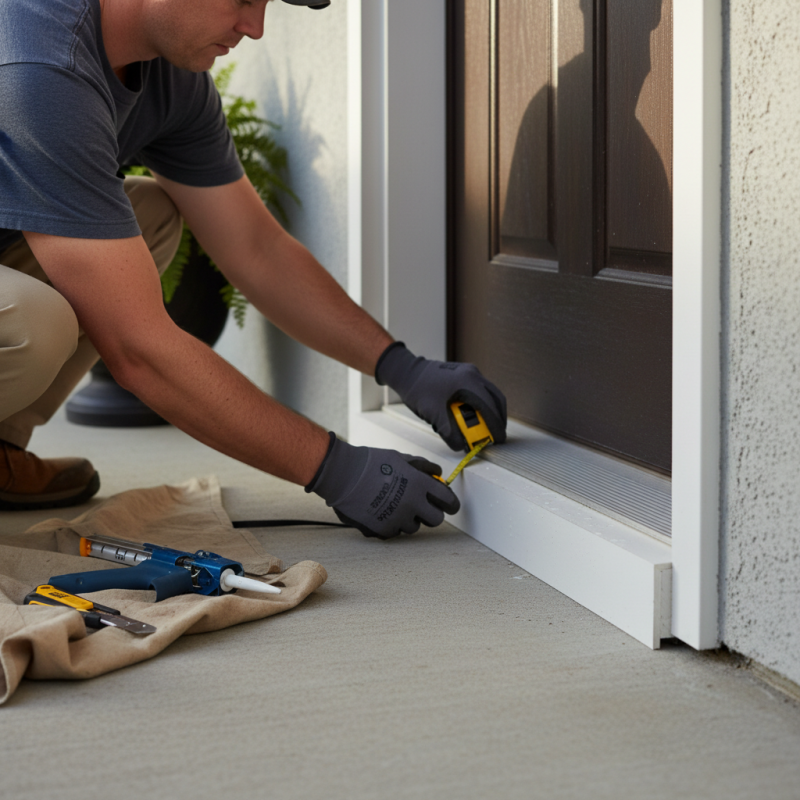
When installing a trim under exterior door, precision is crucial. Expert contractor John Smith emphasizes, "A well-installed trim can enhance both beauty and functionality." Proper installation prevents water damage and improves insulation.
Installation requires careful measurements. This ensures the trim fits snugly against the door. Use durable materials that withstand weather changes. It’s easy to overlook small gaps during installation. Even minor mistakes can lead to significant issues later.
Regular maintenance is essential for longevity. Clean the trim frequently to prevent mold growth. Check for signs of wear and tear. Don’t ignore small cracks or paint chips; they can worsen over time. Reflecting on this, homeowners should prioritize both installation and upkeep. Proper attention to the trim under exterior door makes a lasting difference.
Understanding Trim Types for Exterior Door Installations
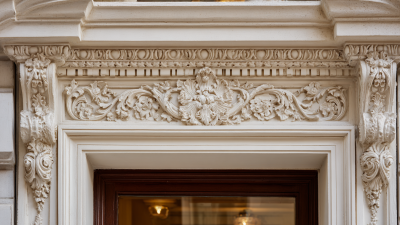
When installing an exterior door, choosing the right trim type is essential for both aesthetics and durability. Popular choices include wood, PVC, and composite. Wood offers a classic appeal, but it can warp or rot when exposed to moisture. PVC is resistant to the elements, yet it may not have the same visual warmth. Composite materials can mimic wood but require careful selection to ensure they stand up to the conditions.
The installation process is as crucial as the trim type. A well-measured cut prevents gaps that invite water damage. Consider the door's style and your home’s exterior when selecting trim. It’s easy to overlook proper sealing between the trim and door frame. This oversight can lead to serious problems later. Regular inspections for wear and tear are necessary. Over time, paint may chip or edges may fray. Embracing routine maintenance will prolong the life of your trim. Reflect on your choices frequently; they define not just look, but functionality too.
Essential Tools for Installing Trim Around Exterior Doors
When it comes to installing trim around exterior doors, having the right tools is crucial. A miter saw is essential for making precise angle cuts. This tool ensures that each piece fits snugly. A level helps to keep everything straight. It's easy to overlook this tool, but it can save you from future issues.
Measuring tapes are invaluable. Accurate measurements prevent mistakes later. A sturdy hammer is also necessary for securing the trim. Opt for one that feels comfortable in your hand. A nail gun can speed up the process, but it requires caution. Misplaced nails can lead to uneven trim.
Planning is key, yet it's often where people falter. Not every door frame is perfectly straight. You might need to adjust your approach. Take your time when measuring and cutting. It's easy to rush through, but that can lead to frustration. Understanding the materials and having the right tools makes a significant difference in the outcome.
Top Tips for Trim Under Exterior Door Installation and Maintenance
Maintenance Tips to Prolong the Life of Exterior Door Trim
Maintaining exterior door trim is essential for enhancing durability. According to the National Association of Home Builders, well-maintained trim can last over two decades. However, neglect can lead to issues much sooner. Regular inspections are crucial. Look for signs of wear, such as peeling paint or cracks. These can allow moisture in, leading to rot.
Cleaning is a simple yet effective way to prolong the life of your trim. Use mild soap and water to remove dirt. Once a year, consider applying a fresh coat of paint or sealant. This can protect against weather extremes. Surprisingly, many homeowners overlook this step, risking a costly replacement in the long run.
Pay attention to your climate. Areas with high humidity may require more frequent maintenance. In contrast, dry regions may see different wear patterns. It's essential to adapt your approach. Keeping track of maintenance tasks can prevent future headaches. Remember, a little effort now can save significant costs later.
Common Issues and Solutions for Trim Around Exterior Doors
When installing trim around exterior doors, common issues often arise. Gaps between the trim and the wall can create problems. These gaps may lead to drafts and decreased energy efficiency. It’s essential to use caulk to fill these spaces. A good bead of caulk helps seal the gap, improving insulation. Ensure the caulk is smooth for a clean finish.
Another frequent issue is paint peeling. Moisture can build up, causing the paint to crack or flake. Regularly inspecting the trim for signs of wear is crucial. If you notice peeling, remove the old paint first. Then, sand the area to create a smooth surface. A primer coat can improve paint adhesion. Selecting the right paint is also important; opt for a weather-resistant variety.
Sometimes, the trim can warp due to weather conditions. Warping leads to an uneven appearance and gaps. If you find yourself facing this issue, consider replacing the warped section. Use materials that resist weather damage for durability. It’s good to remember that the finished product should not only look good but also function well against the elements.
Top Tips for Trim Under Exterior Door Installation and Maintenance
| Tip |
Description |
Common Issues |
Solutions |
| Choose the Right Material |
Select materials that withstand weather conditions. |
Warping and decaying of trim. |
Opt for PVC or treated wood. |
| Ensure Proper Sealing |
Seal joints and edges to prevent moisture entry. |
Water damage and mold growth. |
Use silicone caulk for effective sealing. |
| Regular Inspection |
Check trim periodically for signs of damage. |
Cracks or gaps forming in trim. |
Repair cracks promptly to avoid further damage. |
| Proper Installation |
Follow installation guidelines for best results. |
Misaligned or uneven trim. |
Use shims to ensure even placement. |
| Maintain a Clean Finish |
Regularly clean the trim to maintain appearance. |
Accumulation of dirt and grime. |
Use mild soap and water for cleaning. |